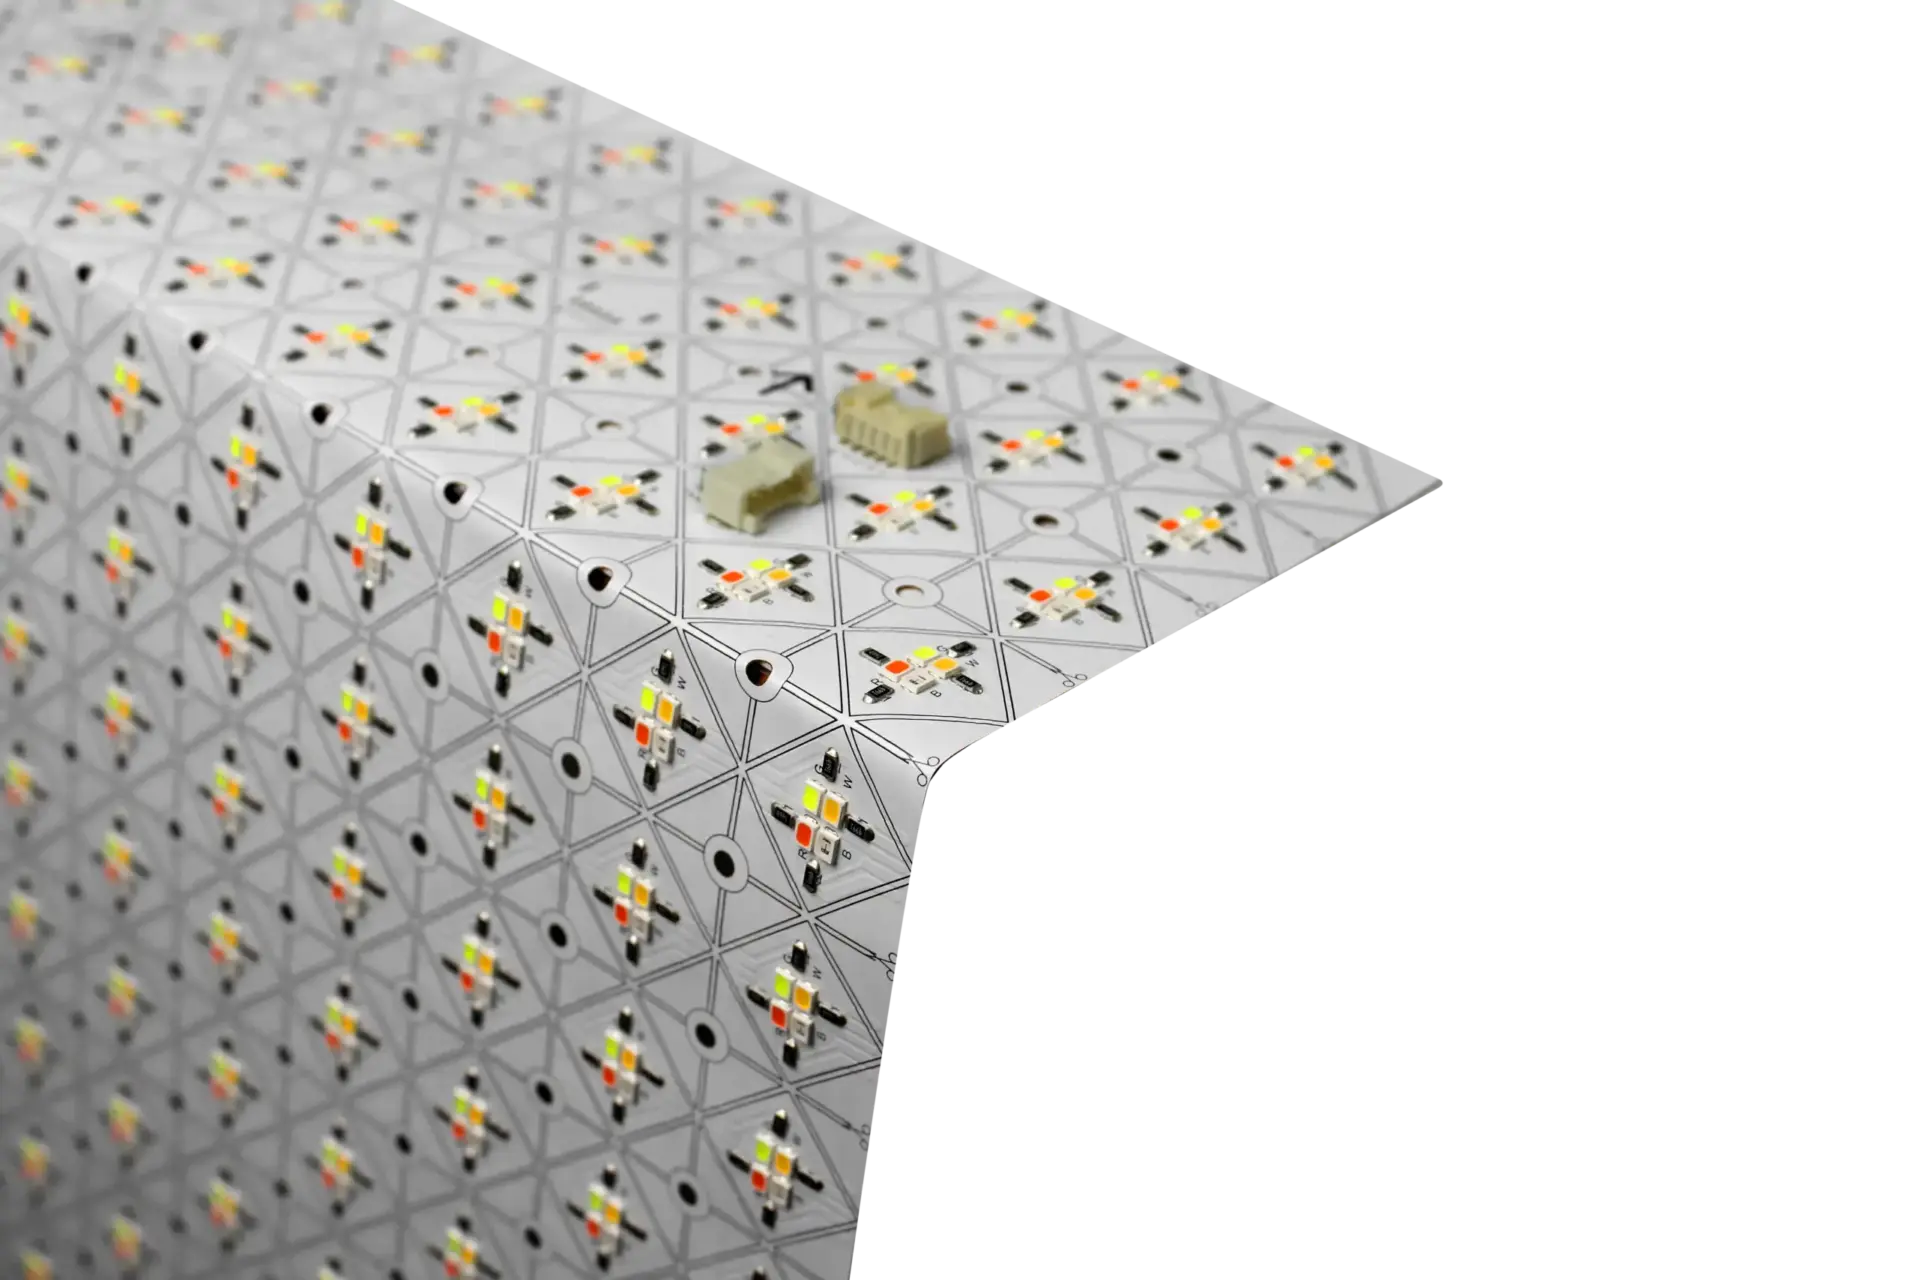
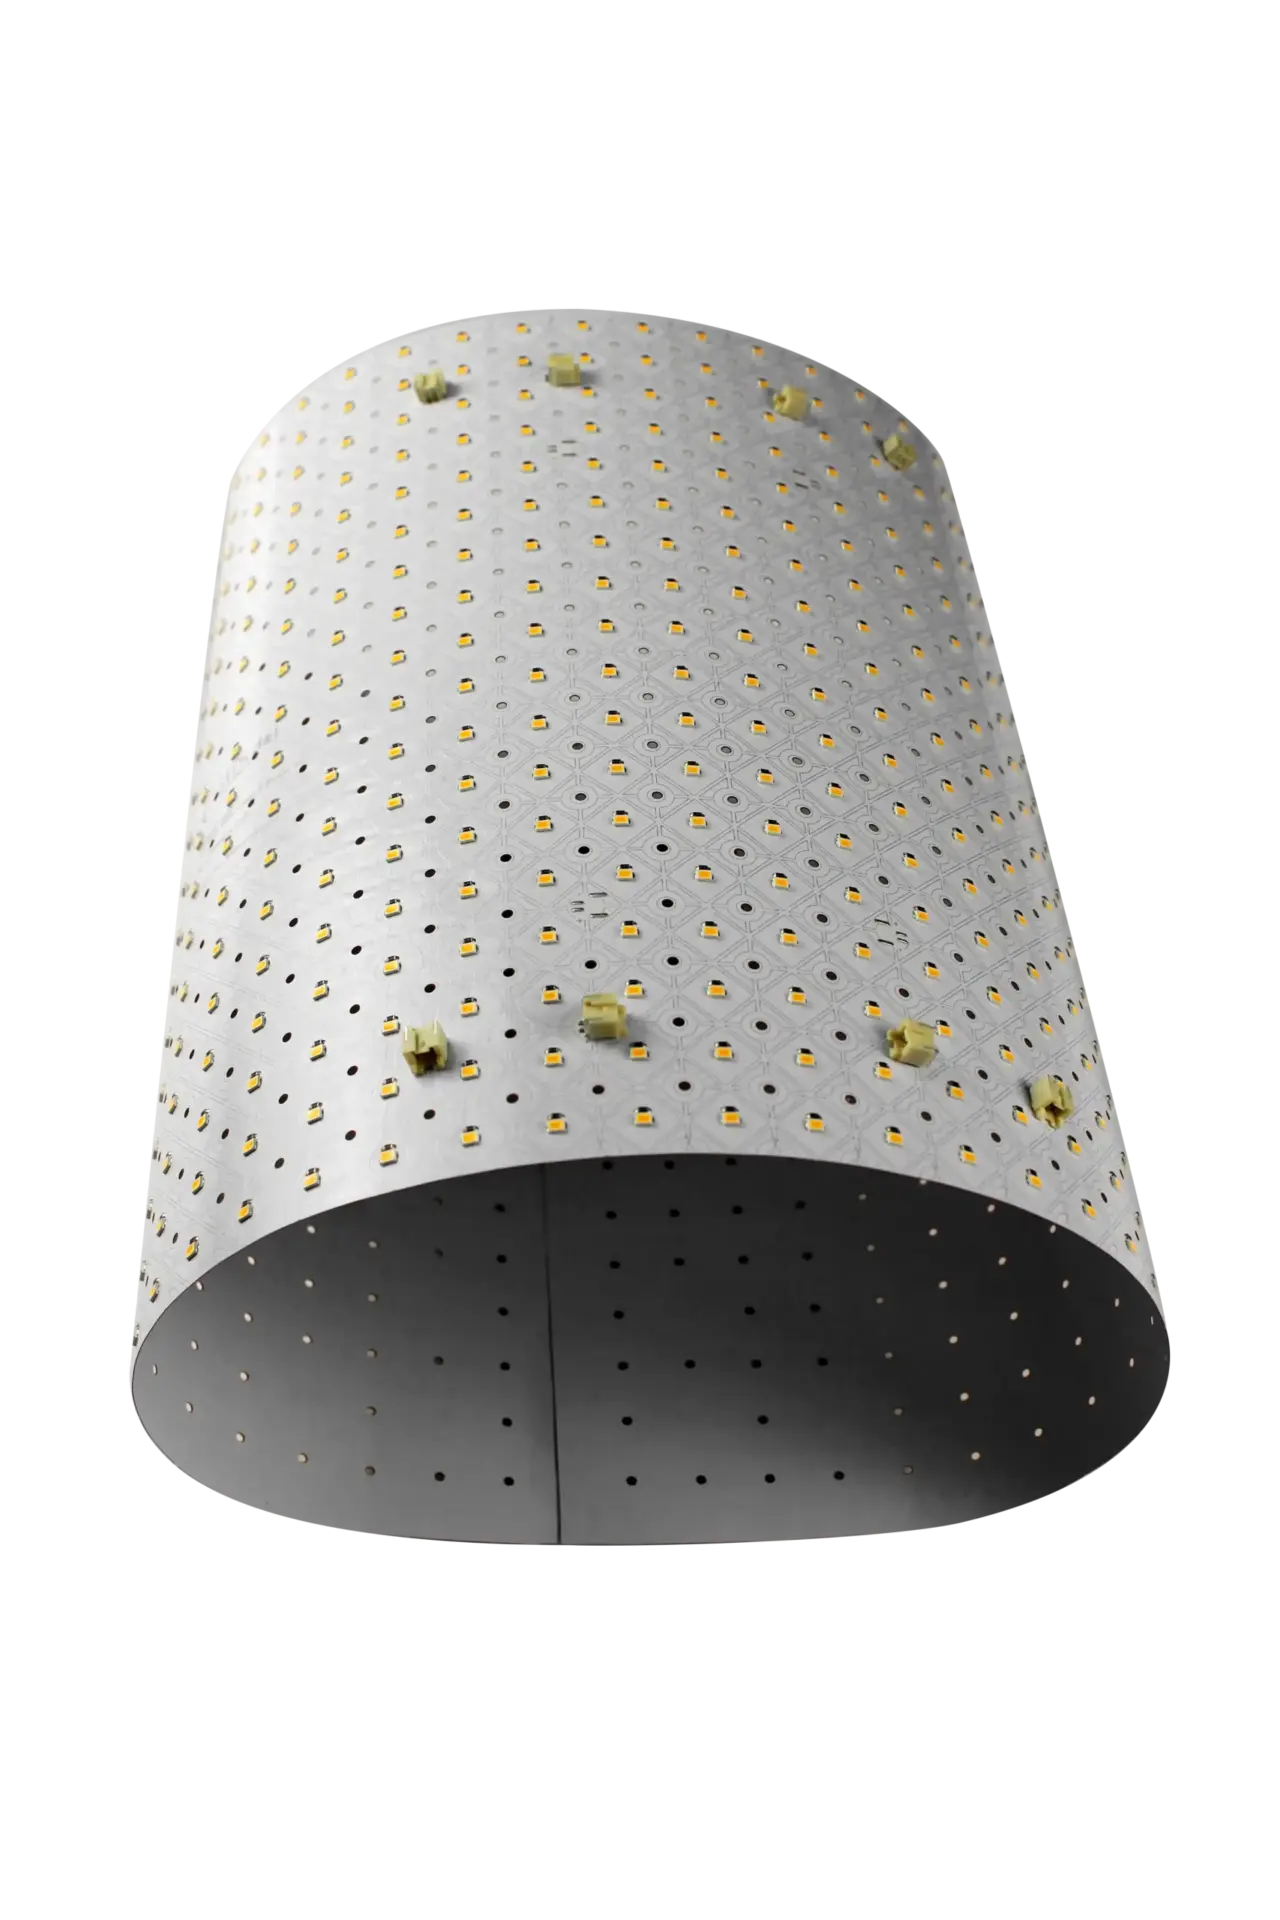
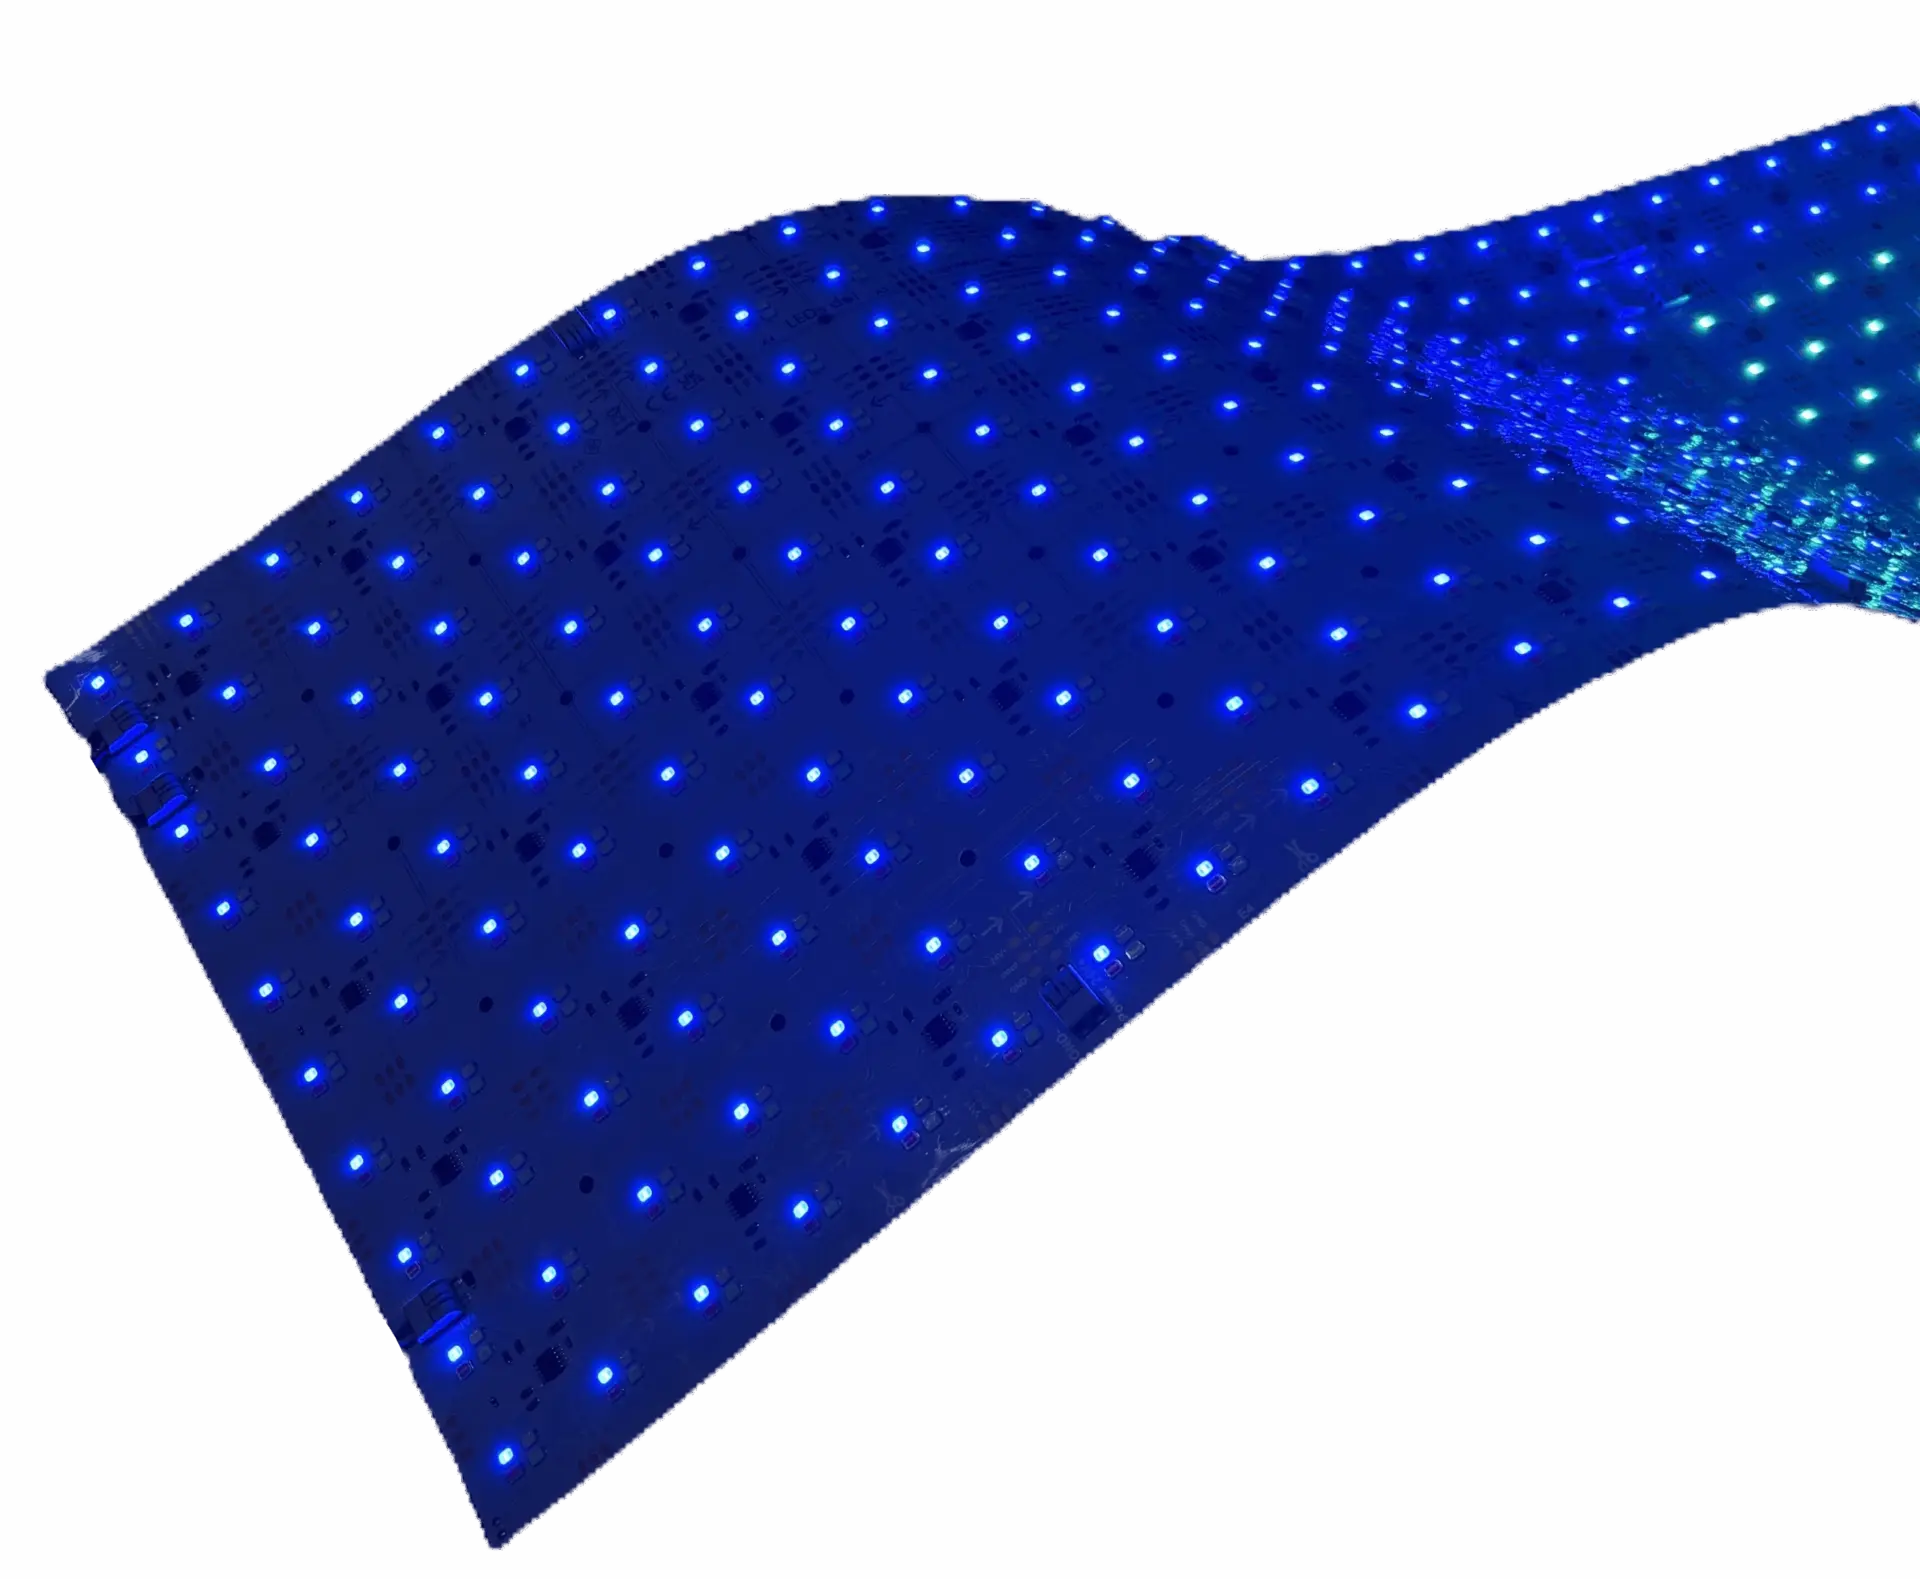
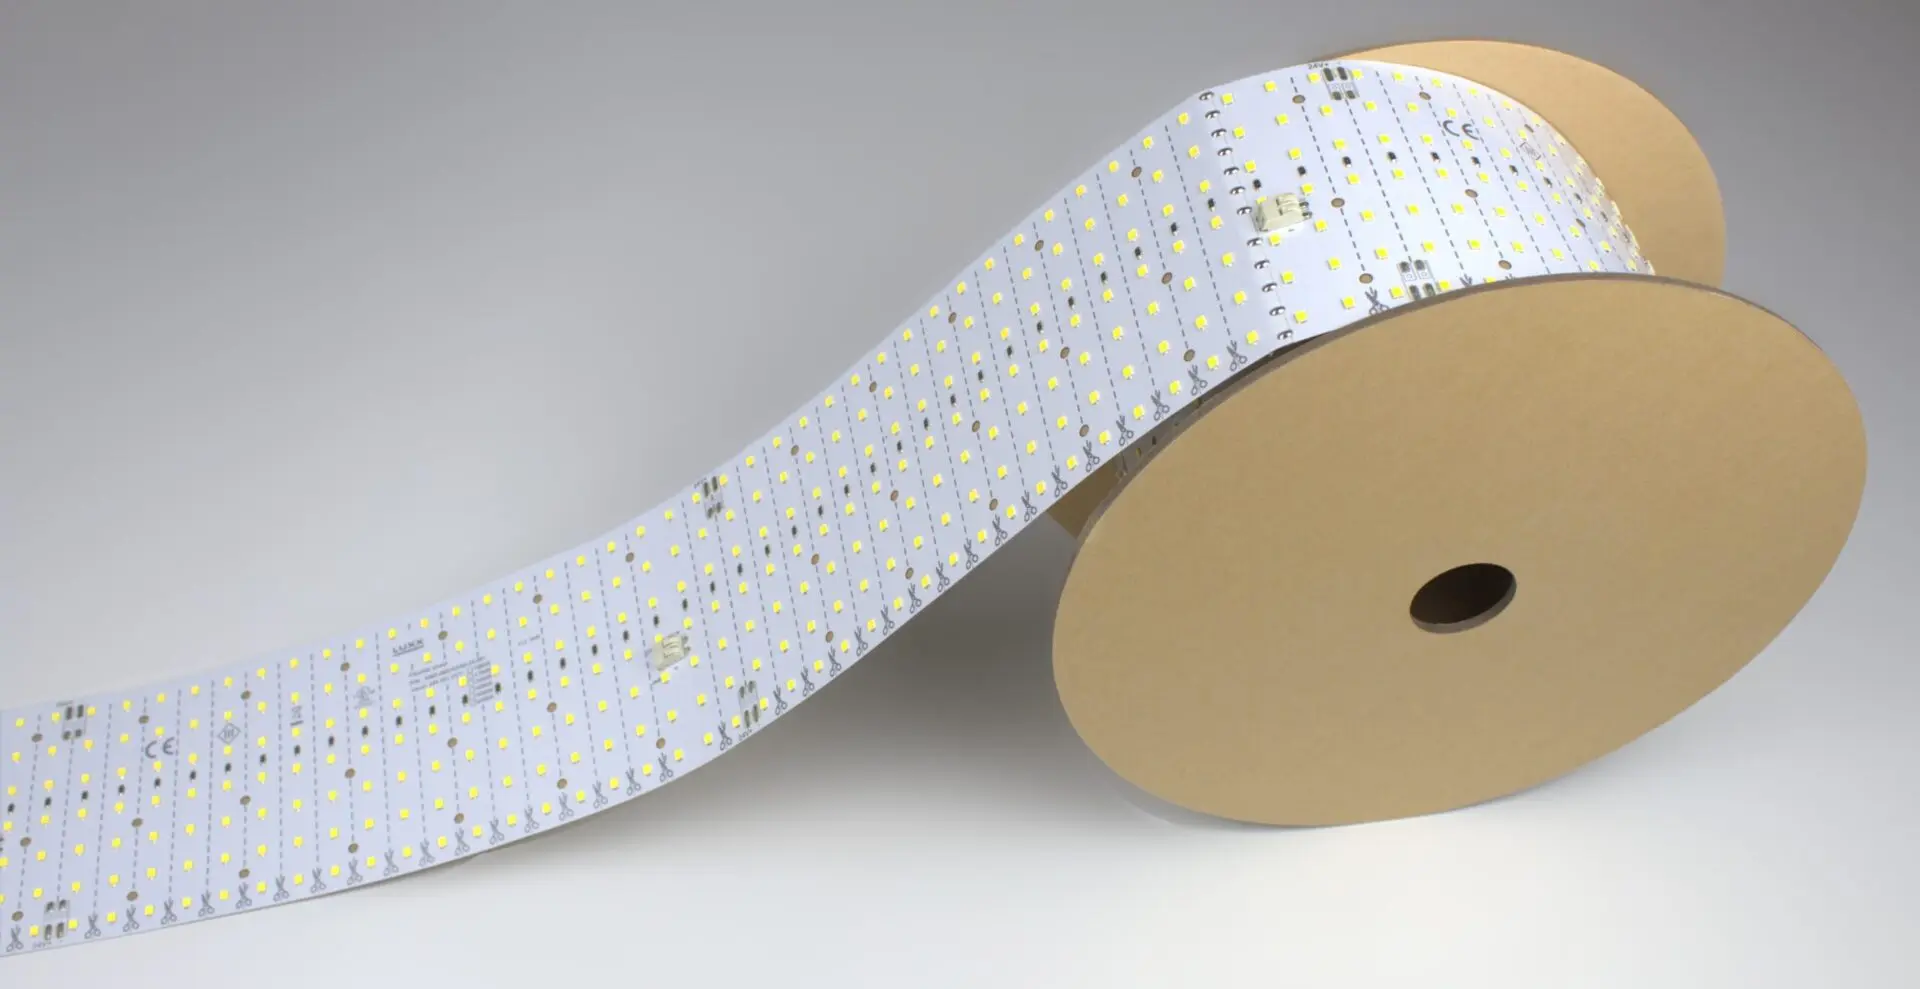
This is the complete end-to-end install workflow for every LightWave® variant — Gen 1 Plus, CH2, PIXX and Roll It!. Each variant has its own PDF manual with product-specific detail, linked at the bottom of this page; the 7 steps below cover every install and the variant-specific notes call out where the workflow differs.
Time budget: a single 12″ × 24″ sheet install runs 30–60 minutes including surface prep and driver wiring. A large-format Roll It! run scales with length. A PIXX addressable install adds controller setup time on top of the mounting steps.
Before You Start — What to Have on Hand
- The LightWave® variant(s) shipped for the project
- Matched constant-voltage driver (sized to total wattage + 15–20% headroom — see LED power supply calculator)
- Controller if the install uses DALI, DMX, 0–10 V, TRIAC/ELV or SPI (PIXX) — see dimmable driver options
- Screw spacer set (behind fabric, diffusers, translucent material, or in shallow cavities where hotspots may show)
- Sharp utility knife, straightedge, or heavy-duty scissors
- 70% isopropyl alcohol and lint-free wipes
- The product-specific PDF manual (linked below)
- Multimeter to verify driver output before energizing the sheet
- Standard hand tools for driver mounting
Step 1: Plan Layout & Confirm Cavity Depth
Before opening the sheet, confirm the install cavity accepts the LightWave® profile. Every variant is under 7 mm, but if the install sits behind a diffuser or fabric face and needs the screw spacer set, add the spacer clearance to the depth requirement.
Sketch or CAD the layout to size — where the sheet will sit, where the marked cut lines fall relative to the fixture geometry, and where the driver / controller / power lead will exit the cavity. Confirm the driver has a mounting location within cable-run distance of the sheet.
Step 2: Prep the Mounting Surface
- Remove dust, dirt, and any old adhesive residue from the mounting surface.
- Degrease with 70% isopropyl alcohol; let dry completely.
- Confirm the surface is smooth, rigid, and non-flexing — peel-and-stick adhesive bonds best to sealed drywall, finished wood/MDF, sheet metal, rigid plastic, aluminum, or prepped glass.
- Install at room temperature when possible; extreme cold or heat weakens the initial adhesive bond.
Step 3: Cut to Size (Along Marked Lines)
All four LightWave® variants are cuttable along marked lines. Do not cut between marked lines — each marked line is where a parallel circuit segment divides, and cutting between them can sever a trace and disable the section beyond the cut.
- Lay the sheet flat on a clean cutting surface.
- Identify the marked cut line closest to the final size.
- Cut cleanly along that line with a utility knife + straightedge, heavy-duty scissors, or a rotary blade.
- If installing PIXX: respect the printed data-in / data-out arrows — SPI data flow is directional and the pixel chain has to sequence correctly after the cut.
- Terminate the cut edge per the product PDF (soldered leads or edge protection as specified).
Step 4: Peel, Stick, and Apply
- Test-fit the sheet with the liner still on — mark position with pencil or tape so you only peel and apply once.
- Peel the adhesive liner in sections (do not remove the whole liner at once on large sheets or long roll runs).
- Apply the sheet with firm, even pressure as you go — work from one edge across the surface to avoid trapping air.
- On curves: apply pressure progressively at the tightest radius and hold for a few seconds to ensure full contact.
- On ceilings or large overhead runs: add mechanical backup — a few screws or clips at the edges — for long-term security in high-humidity or temperature-cycling environments.
Step 5: Add the Screw Spacer Set (When Needed)
Direct adhesive mounting is right when the surface the sheet is pressed against is itself what you are backlighting through (translucent stone, acrylic sign face, fabric lightbox front).
Add the screw spacer set when:
- The sheet sits behind a diffuser panel at close range and hotspots show
- The cavity is shallow and heat needs somewhere to dissipate
- The install is behind a fabric lightbox face (SEG lightboxes)
See our heat and hotspot management page for the full trade-off between direct and spaced mounting.
Step 6: Wire to the Driver or Controller
The sheet is a constant-voltage load. The driver converts building power (typically 120 V or 277 V) into the low-voltage DC the sheet runs on. If the driver wires into building line voltage, use a licensed electrician for the driver-side connections. Low-voltage sheet-to-driver connections do not require a licensed electrician in most jurisdictions but follow local code.
General wiring order:
- Mount the driver in its planned location; do not energize yet.
- Land the low-voltage output leads from driver to sheet — match polarity per the product PDF.
- For multi-channel variants (Tunable White, RGBW), connect each channel independently to the corresponding driver output.
- For PIXX: connect power AND SPI data leads separately; respect data-in / data-out direction.
- For Roll It!: size the driver to the total run wattage (2.15 W/ft Standard, 3.5 W/ft High-Output) + 15–20% headroom — see the power supply calculator.
- If installing on a control system (DALI, DMX, 0–10 V, TRIAC/ELV), wire the control input to the driver per its documentation — see dimmable driver options.
Step 7: Power On and Verify
- Confirm all connections tight and polarity correct.
- Energize the driver — the sheet should power on at full brightness (or at the last controller state).
- For multi-channel variants: verify each channel powers independently and colors mix correctly.
- For dimmable installs: test the dim range from 0 to 100% and confirm no visible flicker at any level.
- For PIXX: run a controller test pattern to verify pixel addressing and data-flow direction.
- Close the cavity only after the install is verified.
Variant-Specific Install Notes
Gen 1 Plus
Wattage / driver: Single Color: 14 W/sheet · Tunable White: 2 × 14 W/sheet · RGBW: 4 × 4 W (16 W total)/sheet
Notes: Multi-channel variants need a multi-channel driver.
CH2
Wattage / driver: Tunable White: 2 × 20 W/sheet · RGBW: 4 × 11 W (44 W total)/sheet
Notes: Higher wattage than Gen 1 — size the driver accordingly (~2.75× Gen 1 Plus RGBW power draw).
PIXX
Wattage / driver: 35 W/sheet + SPI controller
Notes: Two lead types: power (+/−) and SPI data (in/out). Respect data-in and data-out arrows. Test with a controller pattern before closing up.
Roll It!
Wattage / driver: Standard: 2.15 W/ft · High-Output: 3.5 W/ft — × total run length in feet
Notes: One driver per continuous run up to 40 ft. Fewer drivers, fewer splices, cleaner install.
The current LUXX site confirms the Roll It! product page and its 40-foot continuous-run specification. (LUXX)
Downloadable Manuals & Video Tutorials
For deep product-specific detail — dimensional drawings, exact cut-line diagrams, terminal pinouts, torque specs, warranty terms — download the PDF manual for your variant:
- All LightWave® PDF install manuals (NA and EU editions for Gen 1 Plus, CH2, PIXX, Roll It!)
- LightWave® install video tutorials — unboxing, cutting, mounting, and controller setup walkthroughs
- All user manuals and install videos are collected on the LightWave® manuals & install videos hub.