Quick Answer:
LightWave® sheets run warm, not hot, because the power is spread across the surface: Generation 1 Plus single color draws 7 W per square foot. Keep a consistent air gap between the sheet and the finished surface — about 3/4″ (19 mm) is a typical starting point behind SEG fabric and opal acrylic, and about 25 mm (1″) behind 20 mm onyx. Hold the gap with the LightWave® screw spacer set, placing spacers every 6–8 inches, mount drivers outside enclosed cavities, and split installs above 500 W into zones. Confirm with a mockup using the actual material.
Two related-but-distinct problems come up on real LED light sheet installs: visible hotspots (an optical problem — you can see individual LEDs through the diffuser) and thermal dissipation (an electrical problem — the sheet and driver run hotter than they should). Both are solved by the same handful of design decisions: cavity depth, the screw spacer set, and zone-based driver topology on large runs.
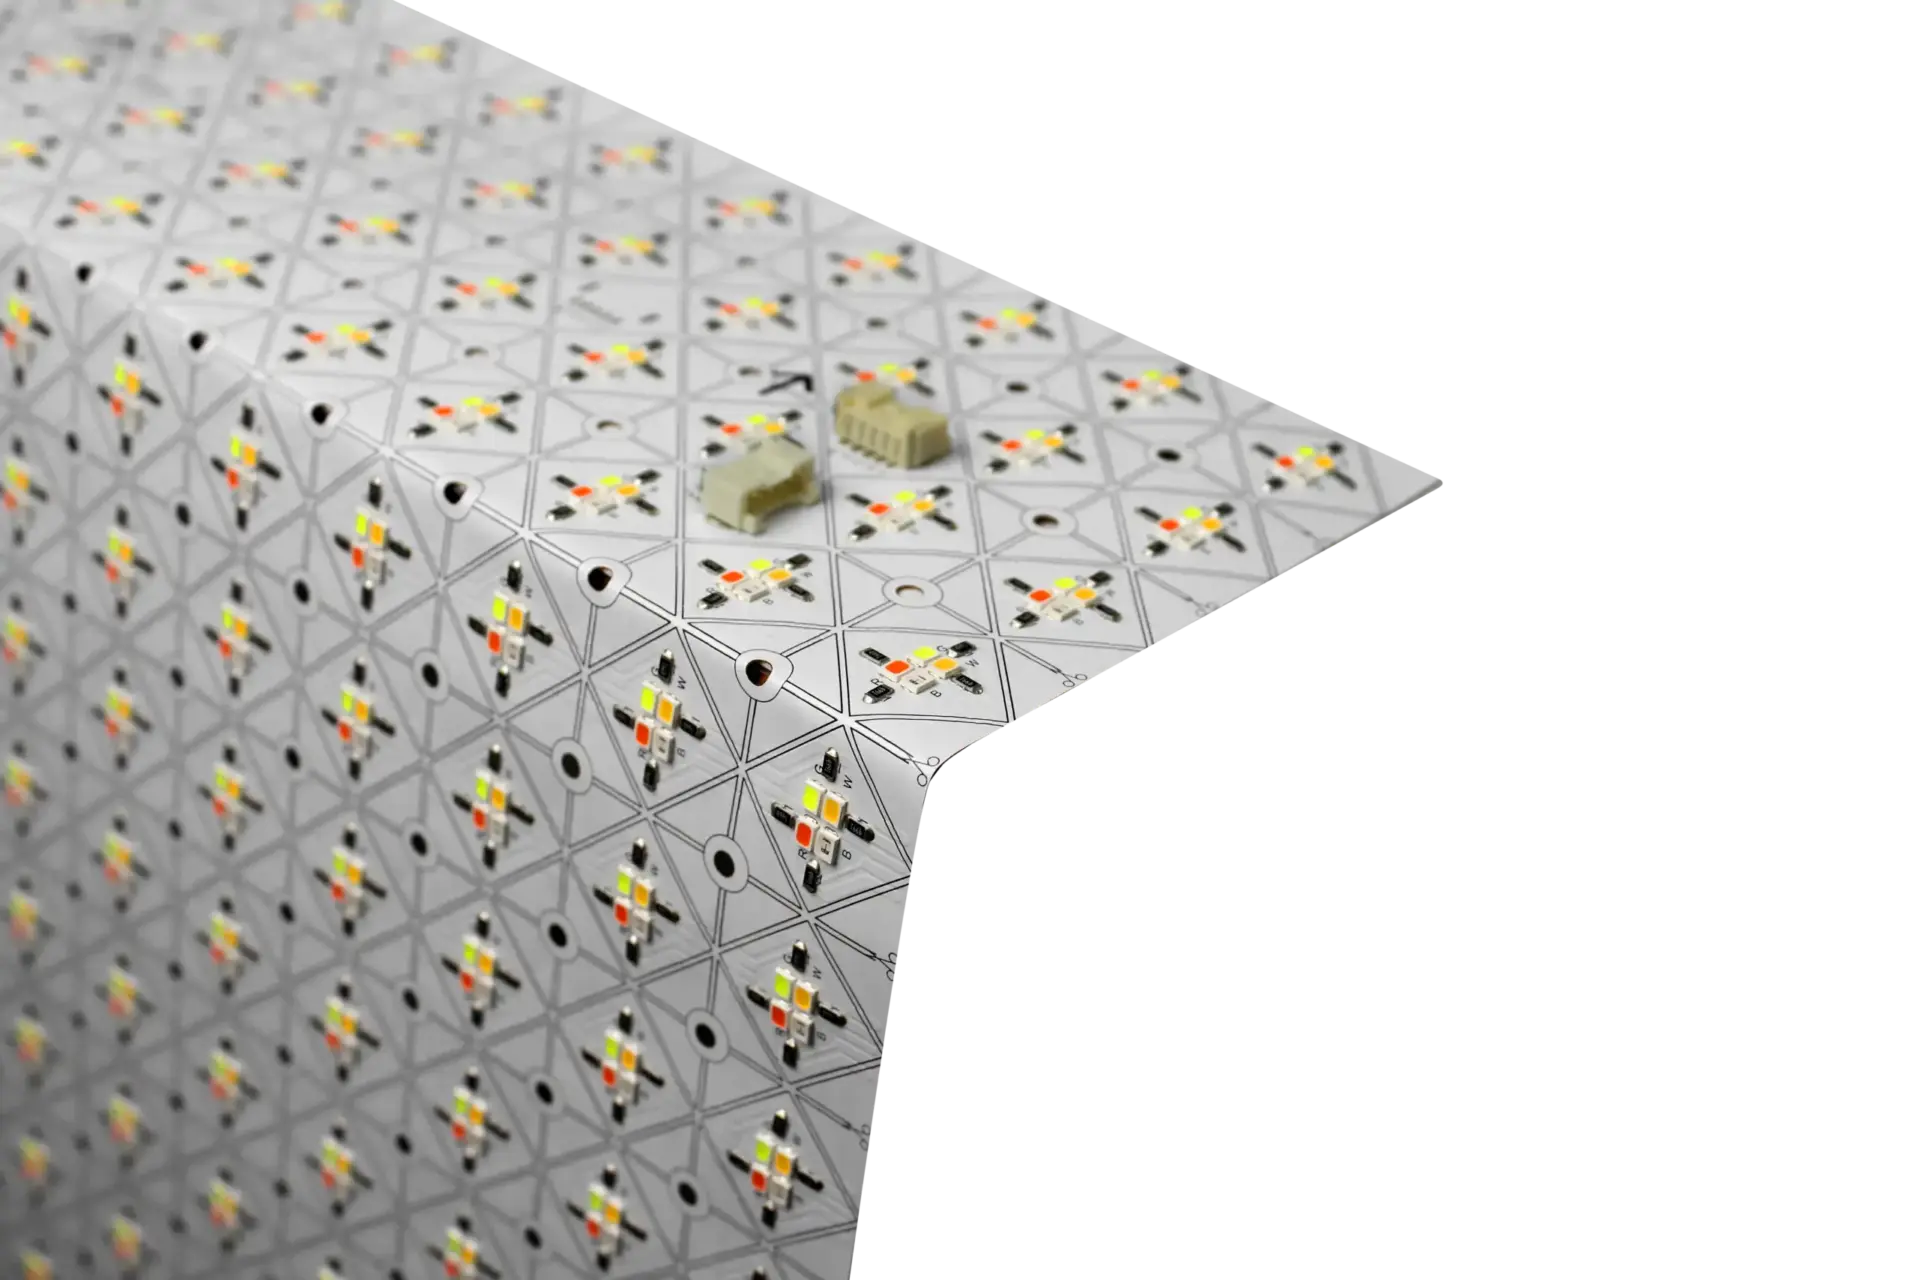
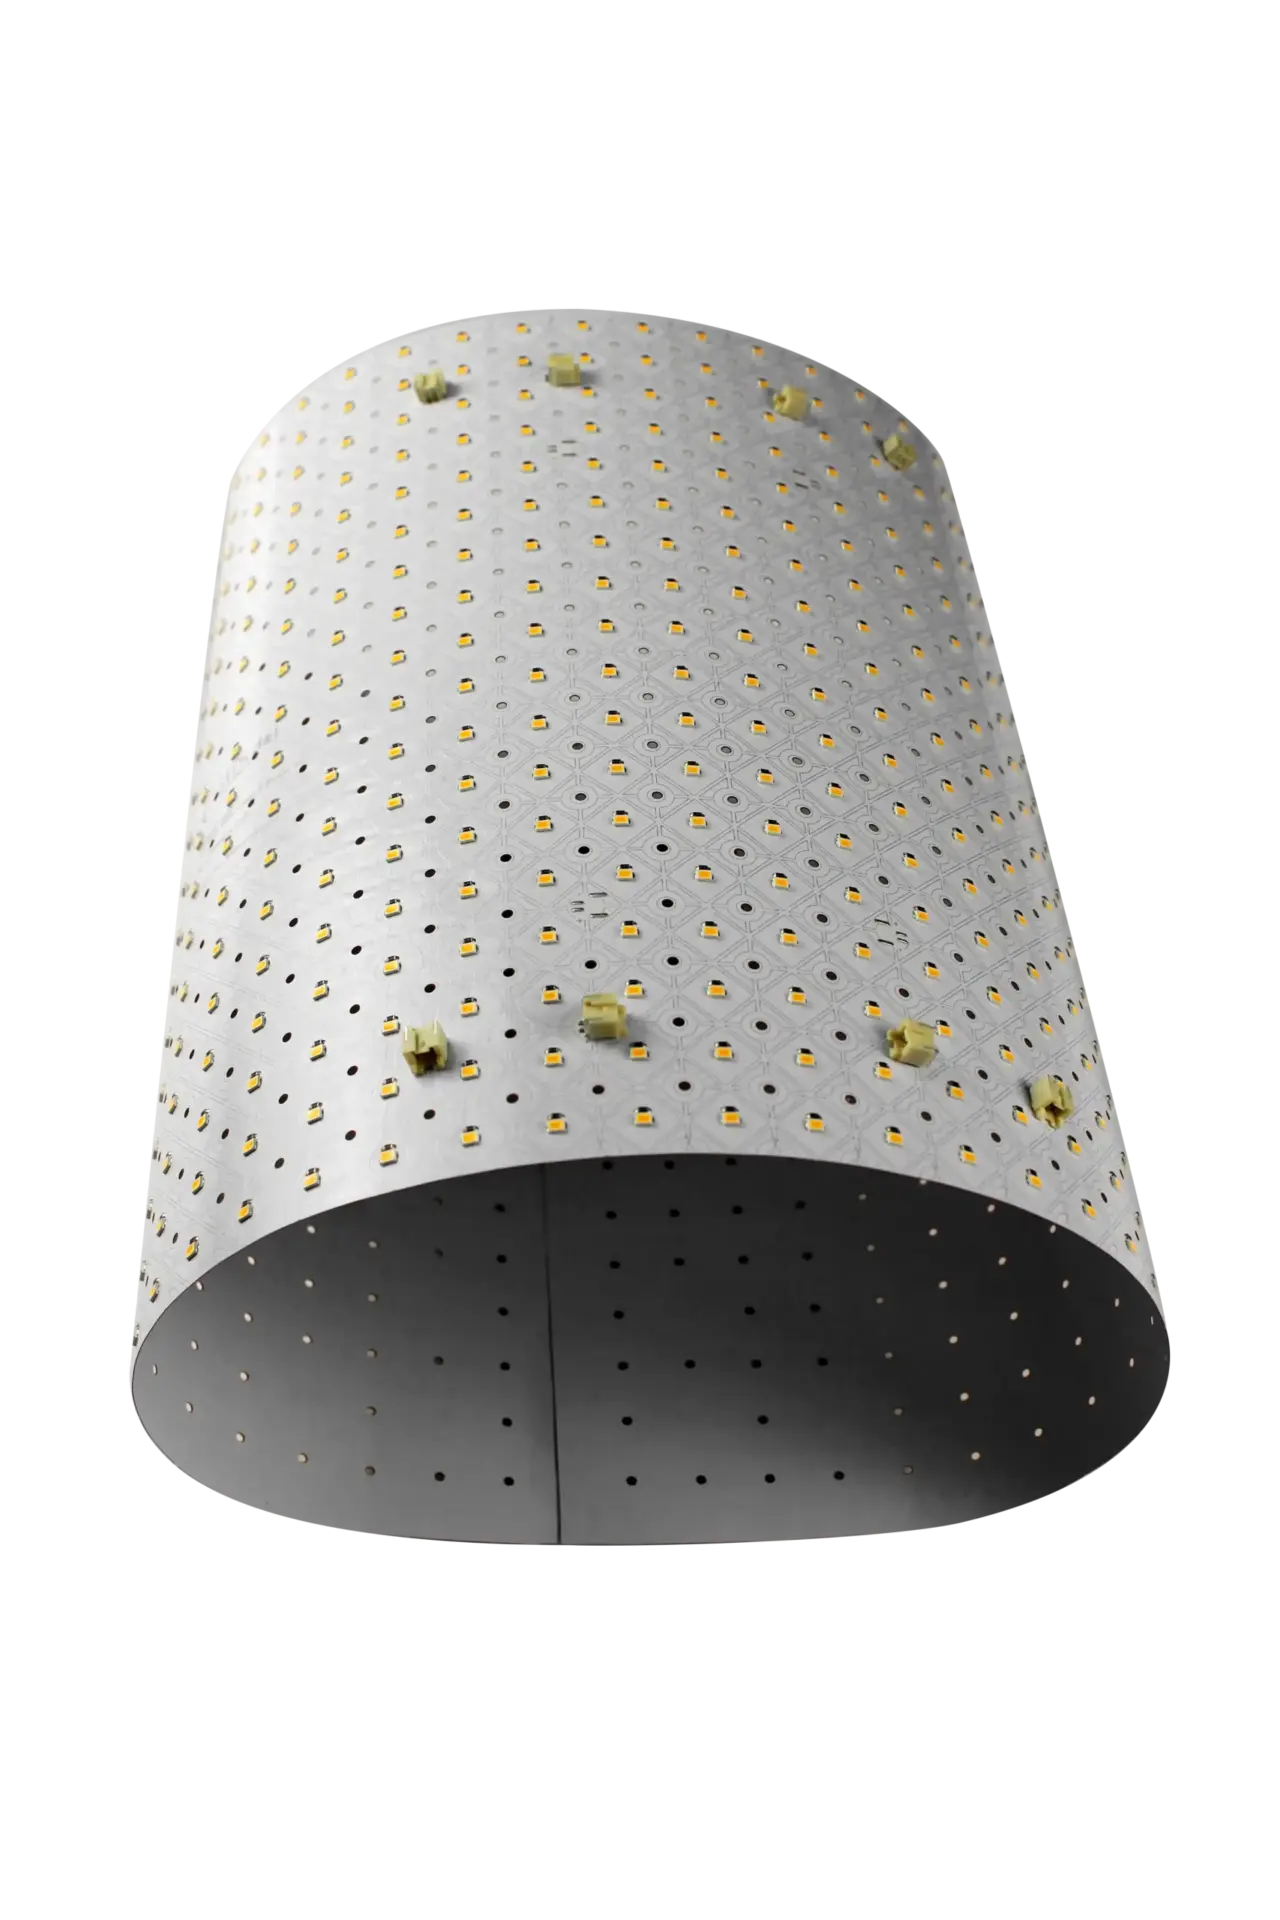
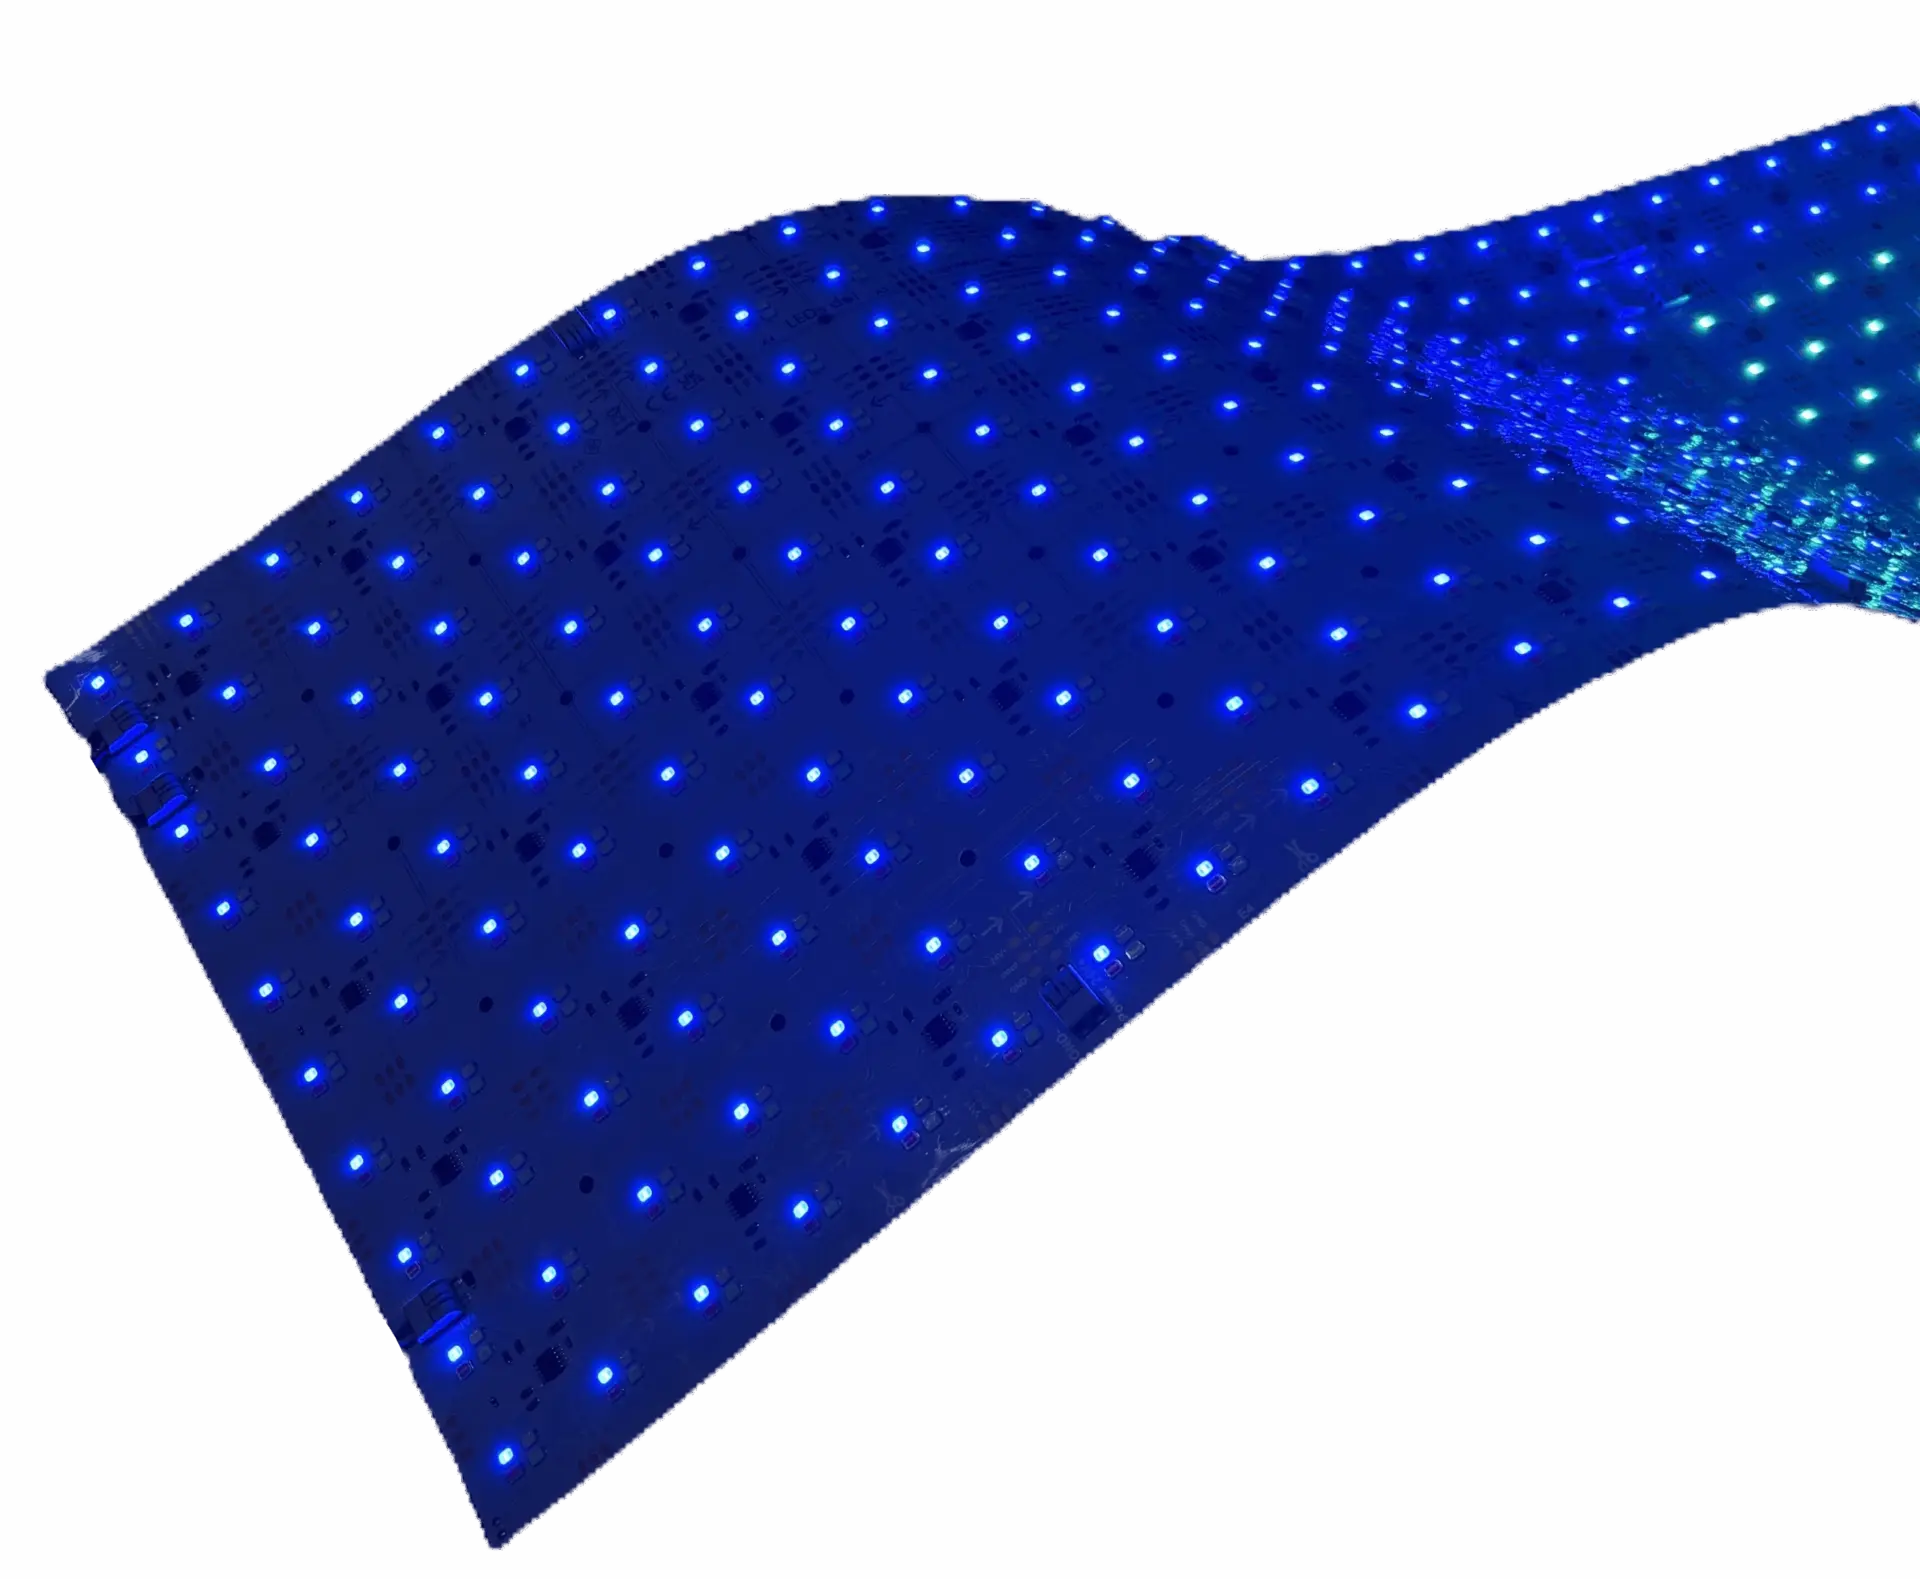
Every LightWave® flexible LED light sheet is engineered for hidden-source installs behind diffusers, fabric faces, and translucent materials. The guidance below tells you how to keep those installs even and cool.
Why does heat management matter for LED sheets?
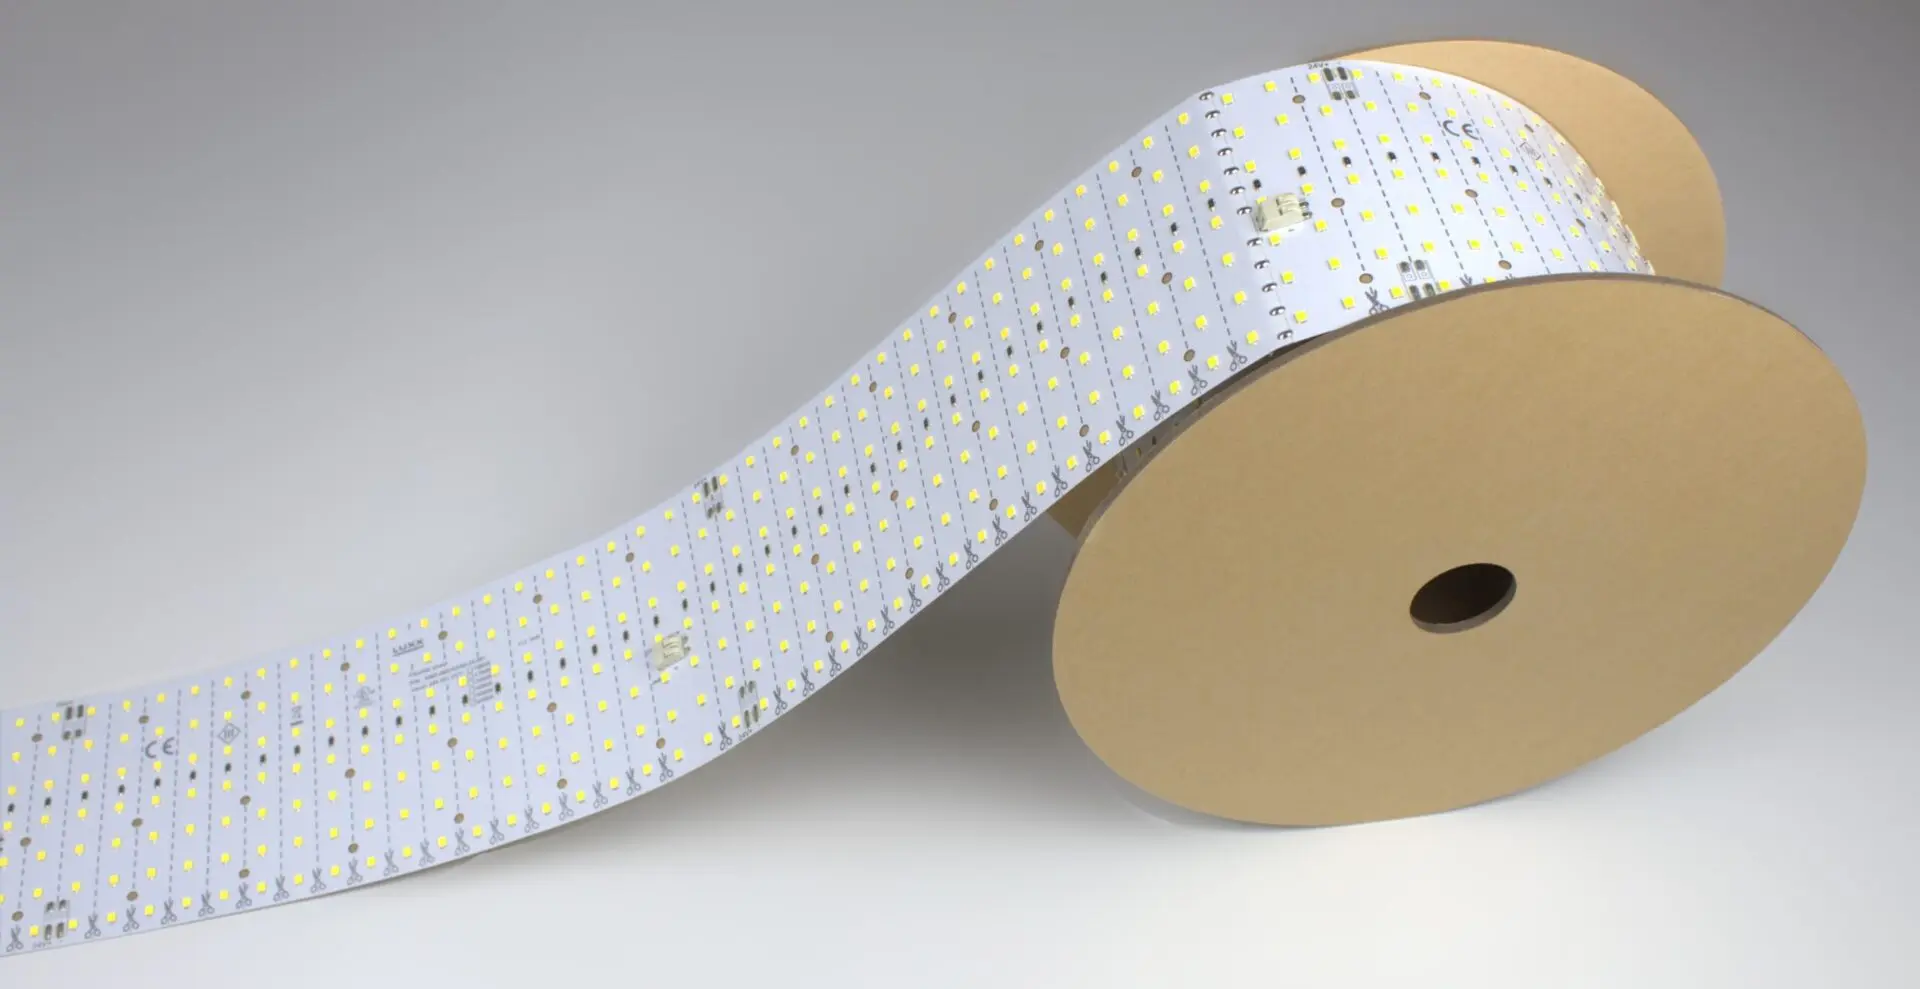
LEDs are efficient but not perfectly efficient — a portion of input power leaves as heat instead of light. On a small install (a single 12″ × 24″ sheet drawing 14 W) with an open cavity, the sheet dissipates that heat naturally to the surrounding air. On a larger install (multiple CH2 RGBW sheets at 44 W each, or a 40 ft Roll It! High-Output run at 3.5 W/ft = 140 W total), the design needs to actively account for where that heat goes.
Heat is not just a longevity concern; it also affects color temperature drift and driver derating. A sheet held at its rated temperature runs cool, holds its rated CCT, and lasts. A sheet trapped in a sealed shallow cavity with a hot driver above it runs at the edge of its envelope.
Proper thermal management of LED light sheets is critical for long-term performance. The American Society of Heating, Refrigerating and Air-Conditioning Engineers (ASHRAE) publishes thermal guidance for electronic equipment operation and maintenance.
All LightWave LED light sheets are UL Listed and tested according to electrical safety standards. The UL documentation includes thermal derating curves that specify safe operating temperatures for our driver circuits.
Following proper installation guidelines—including adequate spacing from heat sources and proper ventilation—ensures your LightWave sheets perform within ASHRAE thermal specifications and maintain warranty coverage.
What causes hotspots behind an LED sheet?
Hotspots are an optical problem, not a heat problem — the name is misleading. A “hotspot” is when you can see the pattern of individual LEDs through the forward material, instead of a smooth uniform glow. It happens because:
- Short throw distance — the sheet sits directly against the diffuser, so each LED’s beam has no room to spread and blend with its neighbors
- Insufficiently diffusing forward material — clear acrylic, thin fabric, or lightly-frosted glass lets the individual LED points show through
- Ambient light contrast — dim ambient makes even minor hotspots visible; bright ambient masks them
The physics is simple: light from a point source spreads on a cone as it travels. Give the cones enough distance to overlap and the surface reads as continuous. Pin them against the diffuser and each cone stays a discrete dot.
What does the screw spacer set do?
The LightWave® screw spacer set is a purpose-built accessory that mounts between the LED sheet and the forward material at a controlled offset. Two functions in one part:
- Kills hotspots by giving each LED’s beam room to spread before hitting the diffuser — cones overlap, surface reads as continuous
- Dissipates heat by creating an air gap between the sheet and the forward material, so heat convects away naturally instead of building up in a sealed sandwich
Order the spacer set alongside the LightWave® variant for any install where the sheet sits behind a diffuser, fabric face, or short-throw material.
When do you need the spacer set?
Use the spacer set when:
- The sheet sits behind a diffuser panel at short throw distance
- The install is inside a shallow cavity where heat needs somewhere to go
- The install is behind a fabric lightbox face (SEG lightboxes)
- The forward material is minimally diffusing (light frost or thin translucent panel)
- The install runs at high wattage per square foot (CH2 RGBW, High-Output Roll It!, multi-sheet PIXX zones)
You don’t need the spacer set when:
- The sheet is bonded directly to the surface it is backlighting through — translucent stone slab, dense acrylic sign face, opaque material where the sheet is the visible surface
- The install is decorative front-facing (the sheet is what you see, no forward material at all)
- The cavity has ample depth and airflow, and the diffuser is already heavily-frosted
How deep should the cavity be behind an LED sheet?
The ideal cavity depth depends on the forward material, wattage per square foot, and how visible any residual hotspots would be in the finished install. Two principles cover most situations:
- Diffuser distance ≈ LED spacing. As a rule-of-thumb, the throw distance from LED to diffuser should be at least the spacing between adjacent LEDs. Less than that and hotspots become likely. The screw spacer set is sized for this rule-of-thumb across LightWave® variants.
- Cavity depth > sheet depth + spacer + driver. Total depth needed = sheet (<7 mm) + spacer offset + driver (if driver mounts inside the cavity — often it doesn’t). Confirm before ordering.
Airflow matters when the cavity is sealed. A ventilated cavity (small vent slots at top and bottom, or an open back) dissipates heat convectively without any active cooling. A sealed cavity with high-wattage sheets and a driver in the same enclosure can build up temperature — either add vent slots or move the driver outside the cavity.
How do you zone long or high-wattage installs?
On installs above roughly 500 W total (say, 12+ CH2 RGBW sheets, or a 40 ft Roll It! High-Output run plus additional sheets), the right answer is usually driver-per-zone topology instead of one large driver:
- Distributes heat across the install — multiple smaller drivers each dissipate less heat locally
- Shortens cable runs — reduces voltage sag and heat losses in the wiring itself
- Fault-tolerant — one zone failure doesn’t take down the whole install
- Easier to serve — a bad driver in Zone 3 gets swapped without touching Zones 1, 2, 4
Use the LED power supply calculator to size zones — the calculator flags large installs (> 500 W) with a zone-design advisory.
How do you fix hotspots after installation?
If hotspots appear on a completed install, work through this list before assuming the sheet is defective:
- Is the spacer set installed? If not, this is almost always the fix. Add the screw spacer set and re-verify.
- Is the diffuser front-facing? A diffuser installed backwards (frosted side against the sheet instead of away) will not diffuse effectively — flip it.
- Is the forward material heavily-enough diffusing? Clear or lightly-frosted acrylic will show LED dots regardless of spacer. Upgrade to a frostier diffuser or add a second layer.
- Is the install dimmed low? Deep-dimmed installs show hotspots that are invisible at full brightness. If the design calls for extended low-level operation, spec more cavity depth from the start.
- Is the ambient too dark? High-contrast dark rooms make even small hotspots read as obvious. Confirm the ambient the install will actually run in.
- Is the wattage per square foot appropriate? Very high W/sqft installs (CH2 RGBW at 22 W/sqft, PIXX at 27.5 W/sqft) need more diffuser depth than lower-wattage variants.
- Still visible? Contact LUXX for design review. Sometimes the geometry itself is wrong for the target appearance — better to redesign now than repaint later.